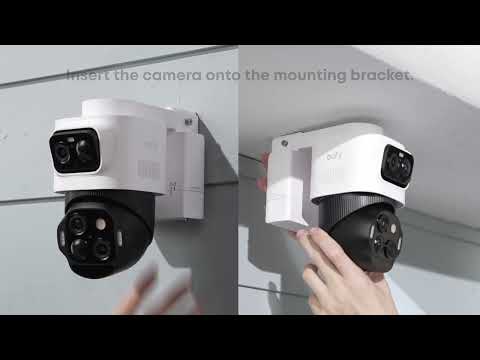
The tilt angle and orientation of your solar panel are key to maximizing charging efficiency. By allowing the panel to face the sun as directly and as long as possible during the brightest hours, you can greatly improve your outdoor camera’s battery life and overall performance.
Follow these three simple steps to achieve the best sunlight exposure:
STEP 1 — Choose the Right Orientation: Face the Sun’s Path
The sun’s path varies depending on the hemisphere, but the rule is still the same: face the equator.
-
Northern Hemisphere → Face South
Southern Hemisphere → Face North
-
If a perfect north-south alignment isn’t possible, facing West is a good alternative to capture strong afternoon sunlight.
STEP 2 — Choose a Shadow-Free Location
Avoid any shade from trees, eaves, or walls, make sure to remove the protective film from the solar panel surface to ensure maximum light absorption, install the solar panel where it can receive direct sunlight throughout the day.
STEP 3 — Adjust the Tilt Angle
The best tilt angle depends on your latitude and season, typically between 30° and 45°.
You can use the website sunsolartilt.com/calculator or similar app to calculate the optimal angle for your location.
-
Summer: The sun is higher — decrease the tilt to make the panel flatter.
-
Winter: The sun is lower — increase the tilt to let sunlight hit the panel more directly.
The following table describes how to calculate optimal tilt angles:
If you have any other questions, please don't hesitate to contact eufy Support Engineers for further assistance.