The eufy SoloCam S340 is a solar camera with multiple features. It offers 3K image quality, along with 360° Pan and Tilt with AI Tracking that can detect humans and vehicles. It supports solar charging, and local AI. It only supports 2.4 GHz Wi-Fi. It can work in various weather conditions. T8170 means to cover more outdoor areas, compared to normal outdoor cameras.
Before Getting Started
Before installing the eufy SoloCam S340, you should register your eufy account and install HomeBase Professional S1 according to the instructions.
Step 1: Log in to your eufy Account
-
Open the eufy App on your phone.
Step 2: Add SoloCam S340
-
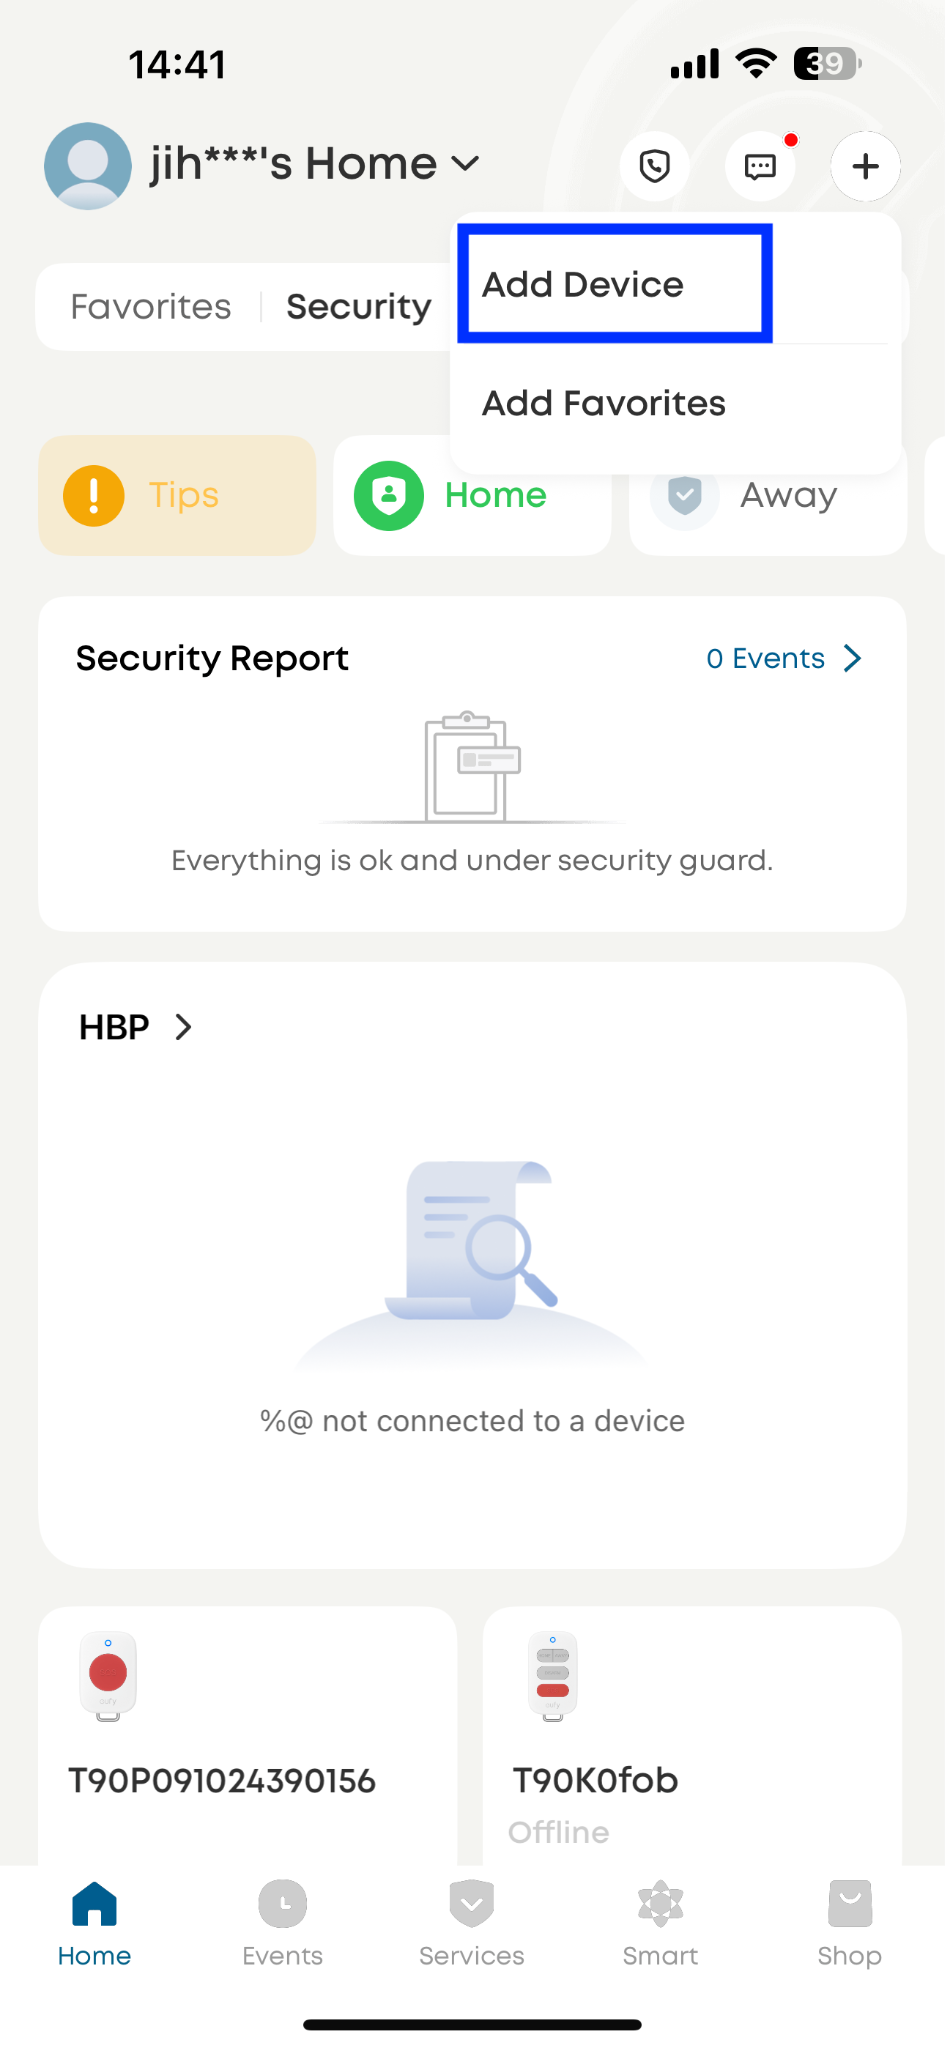
On the app’s main screen, tap the “+” icon in the top-right corner.
-
Select “Battery Camera” under the Security section, choose SoloCam S340, and the designated home (where your HomeBase Professional S1 is).
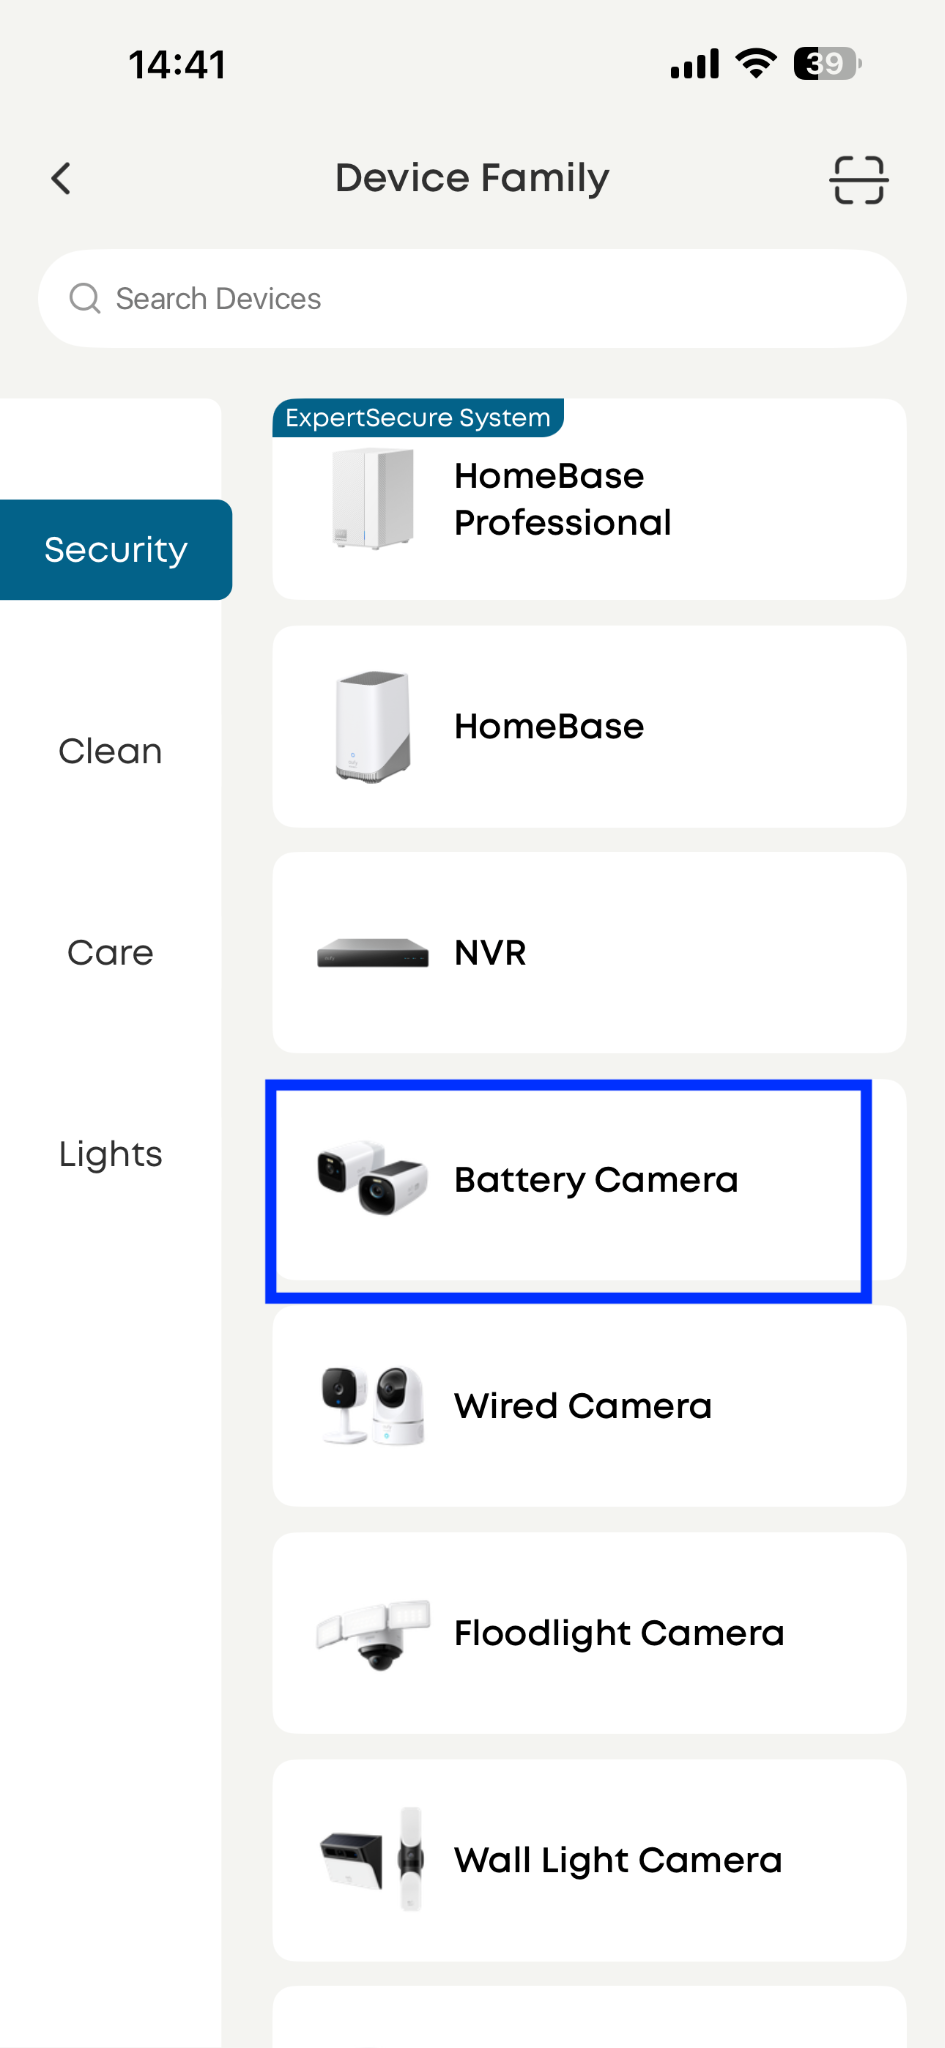
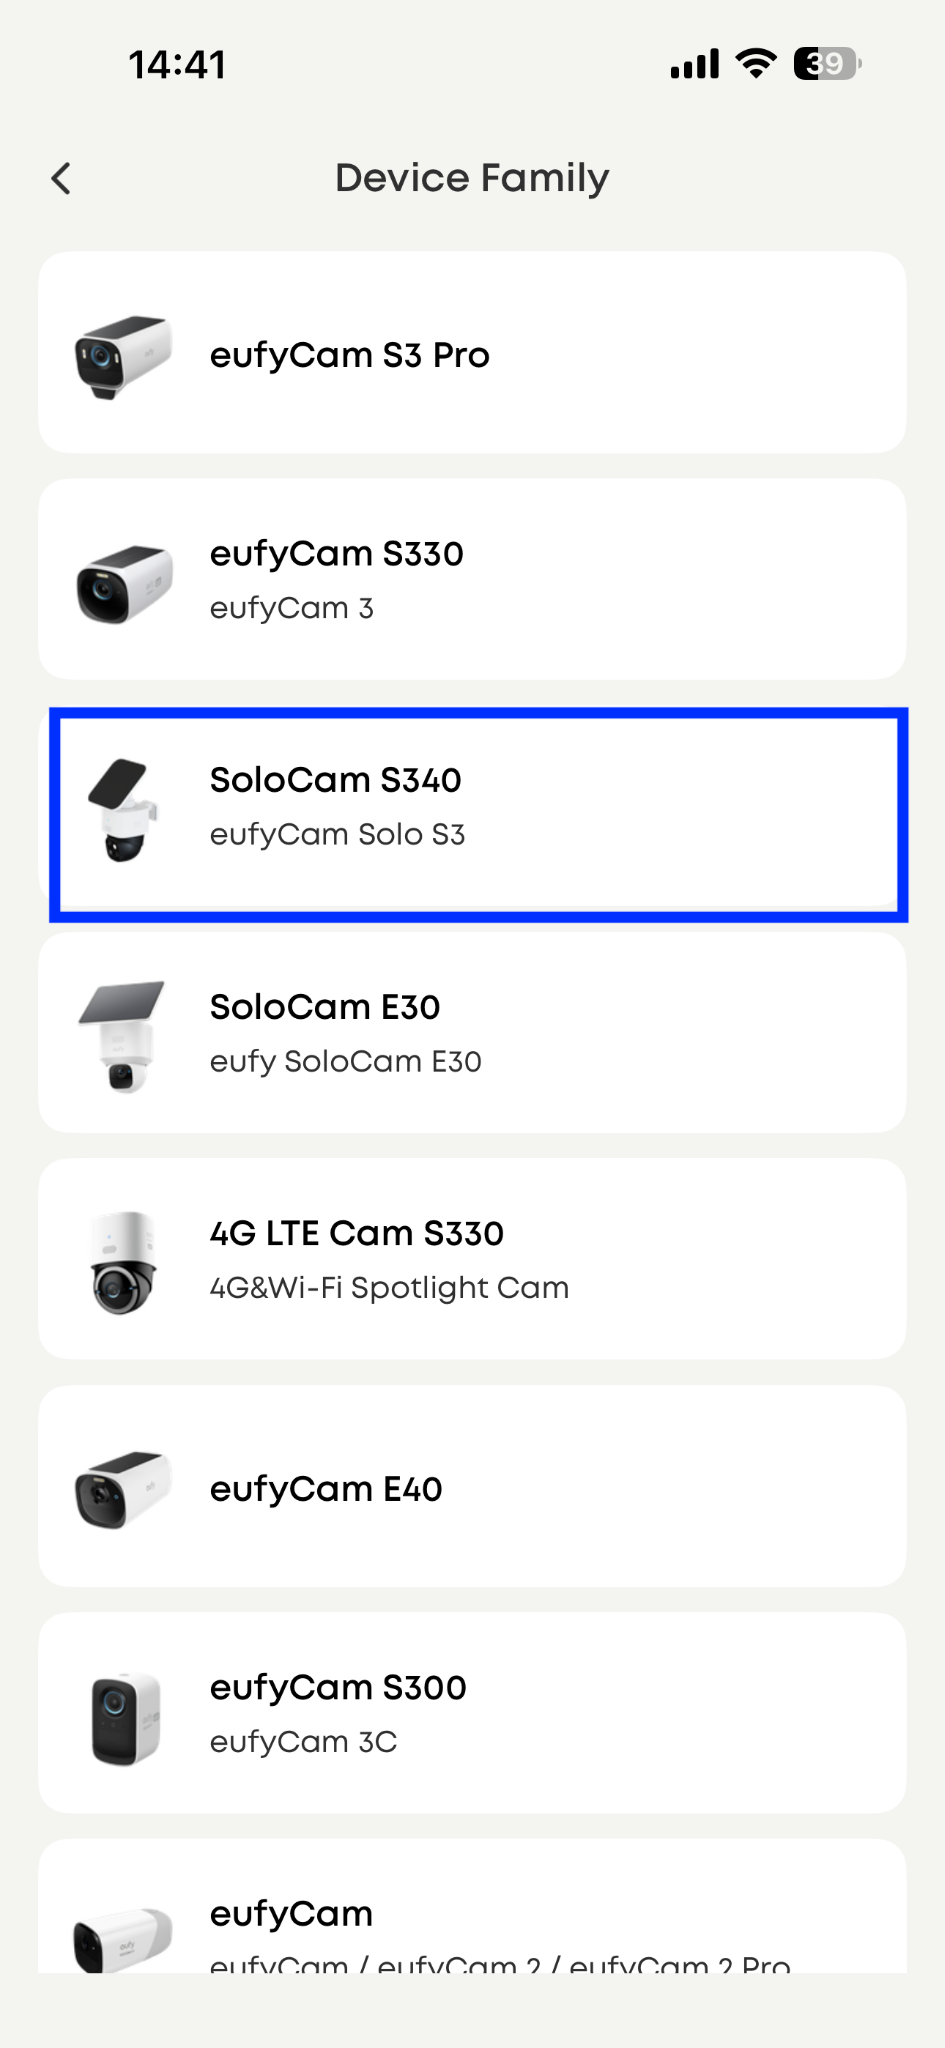
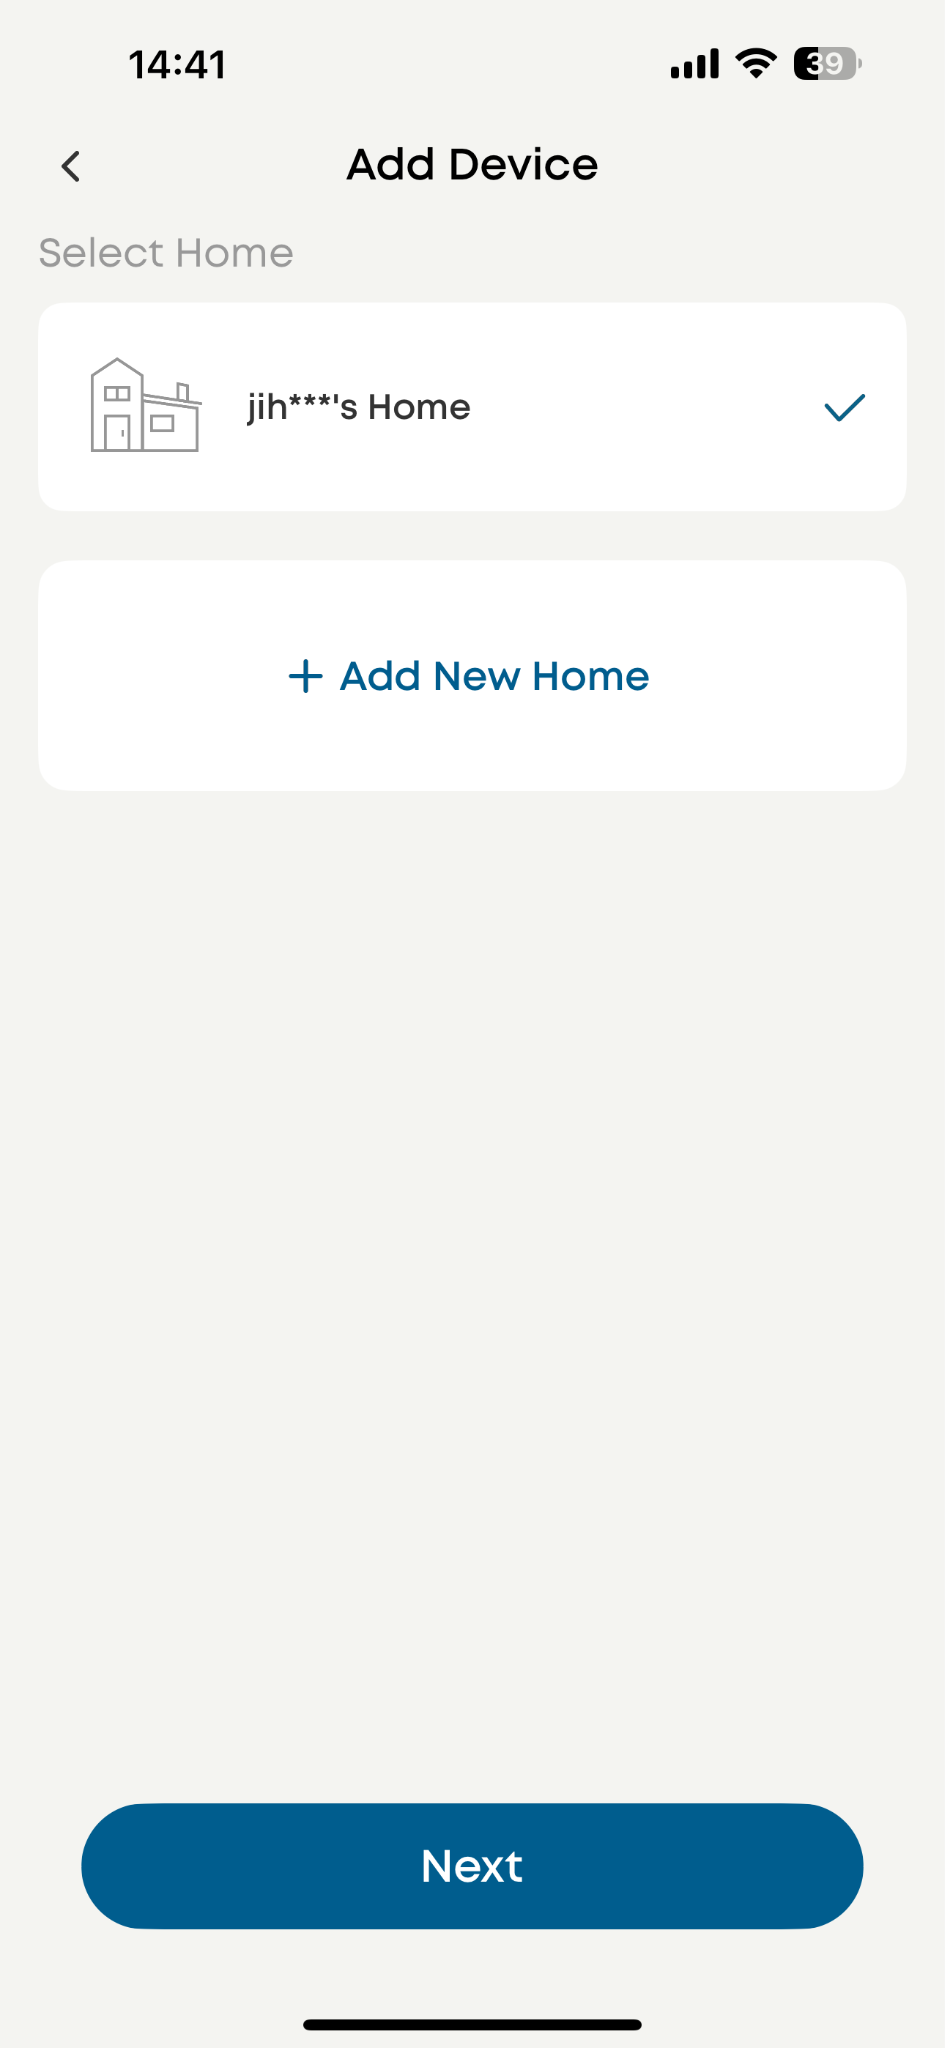
Step 3: Choose the HBP you want to bind and scan the QR code
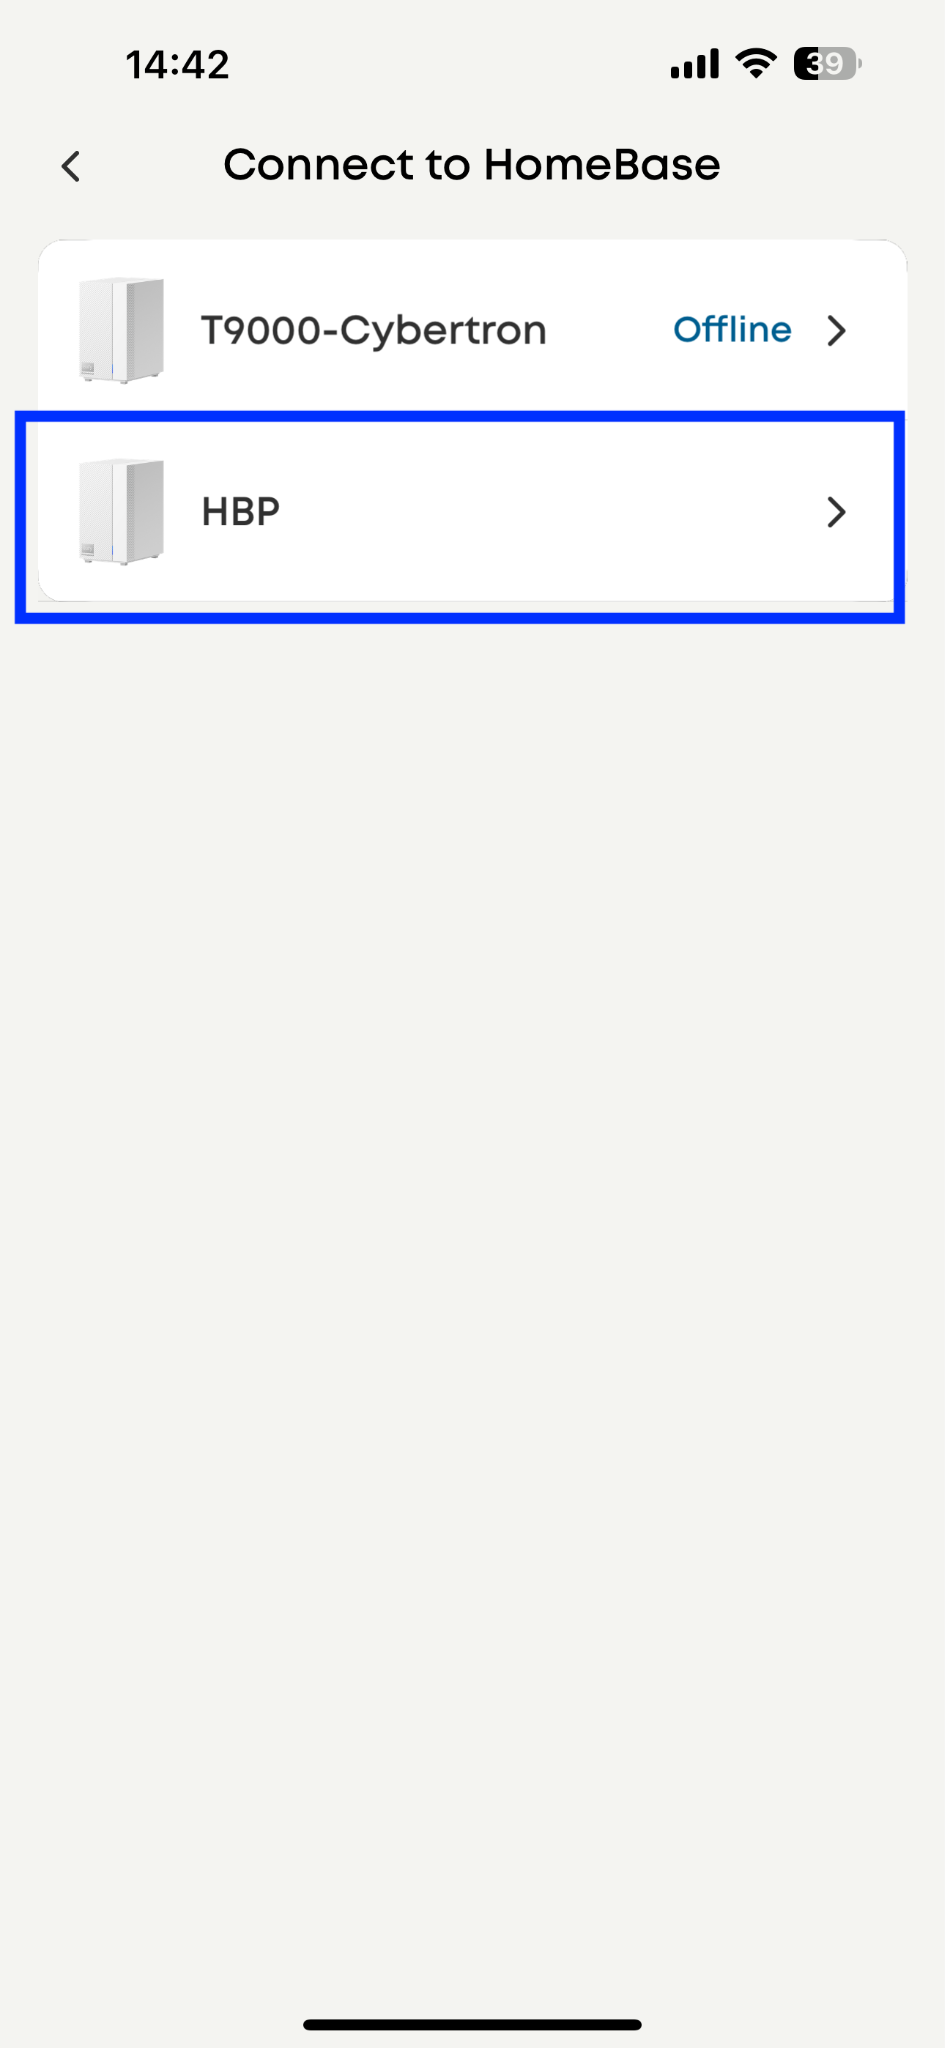
Choose HBP as the binding target
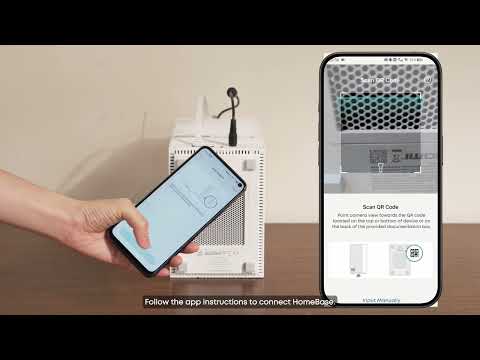
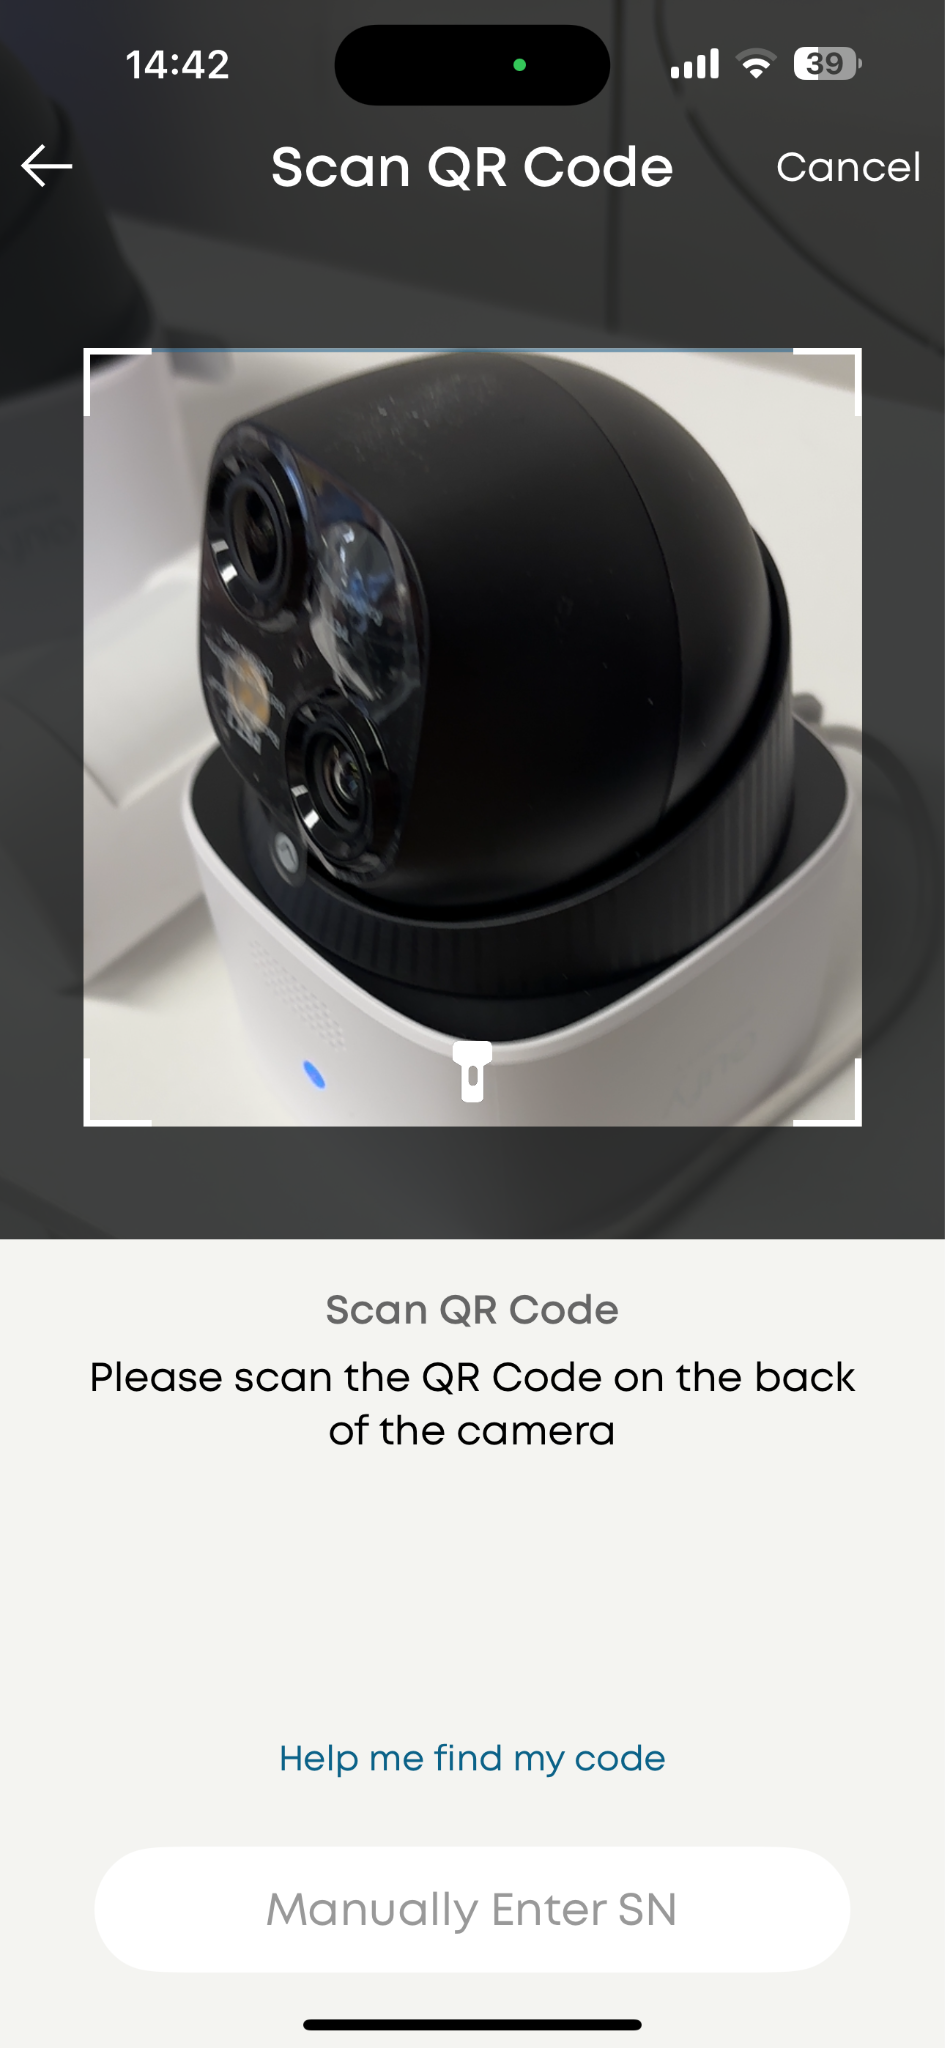
Scan the QR code on SoloCam S340
Choose the HomeBase you want to bind to
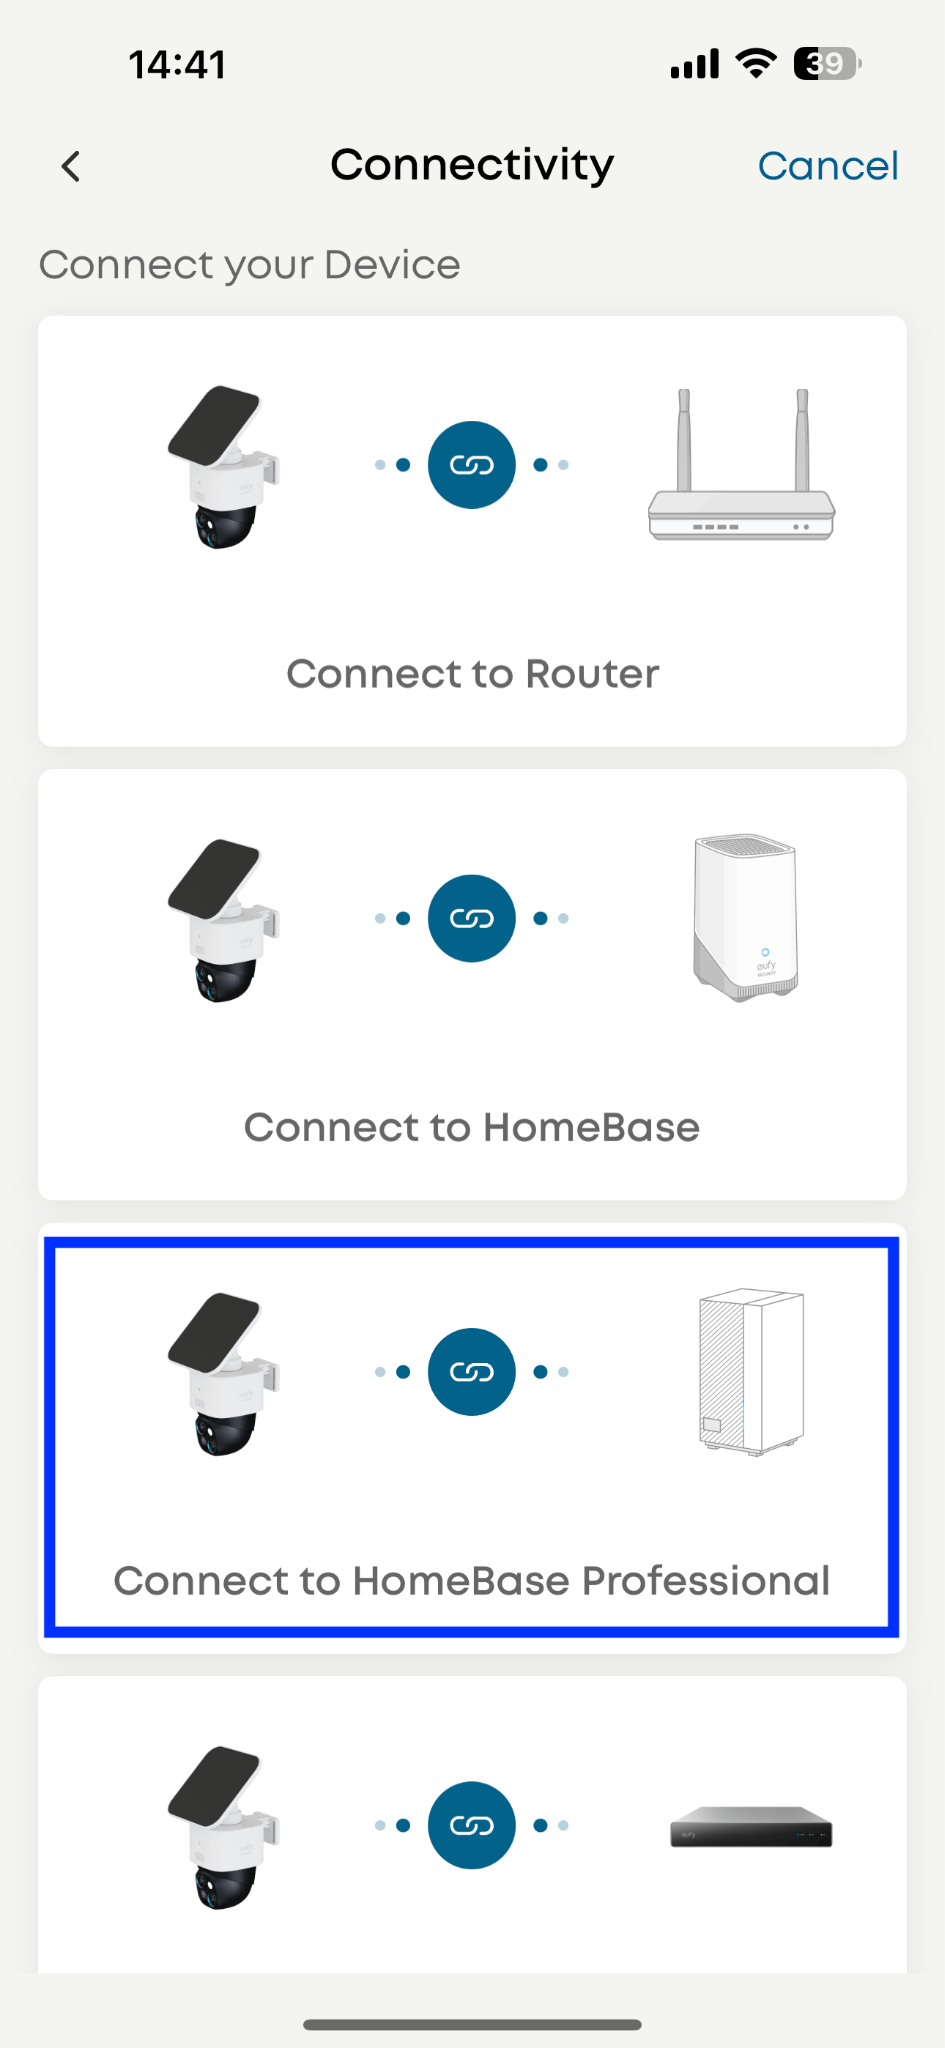
Step 4: Connecting
-
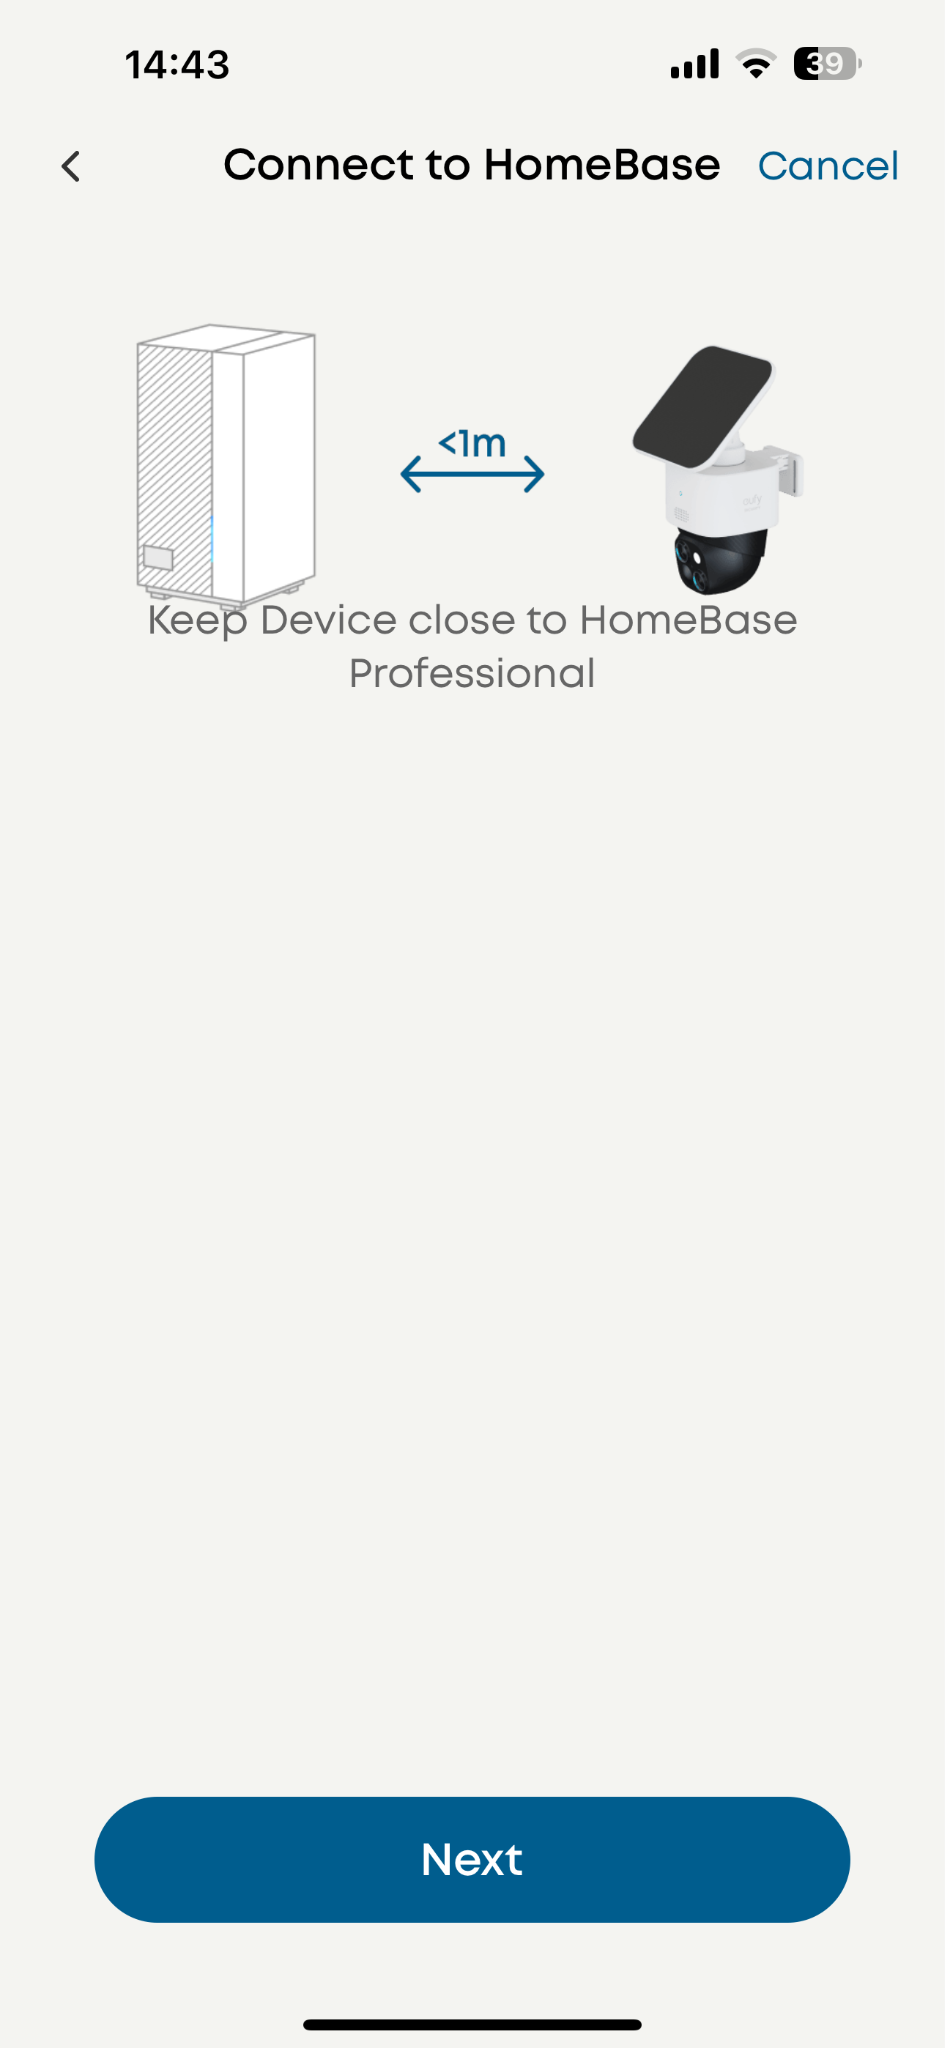
Start connection
-
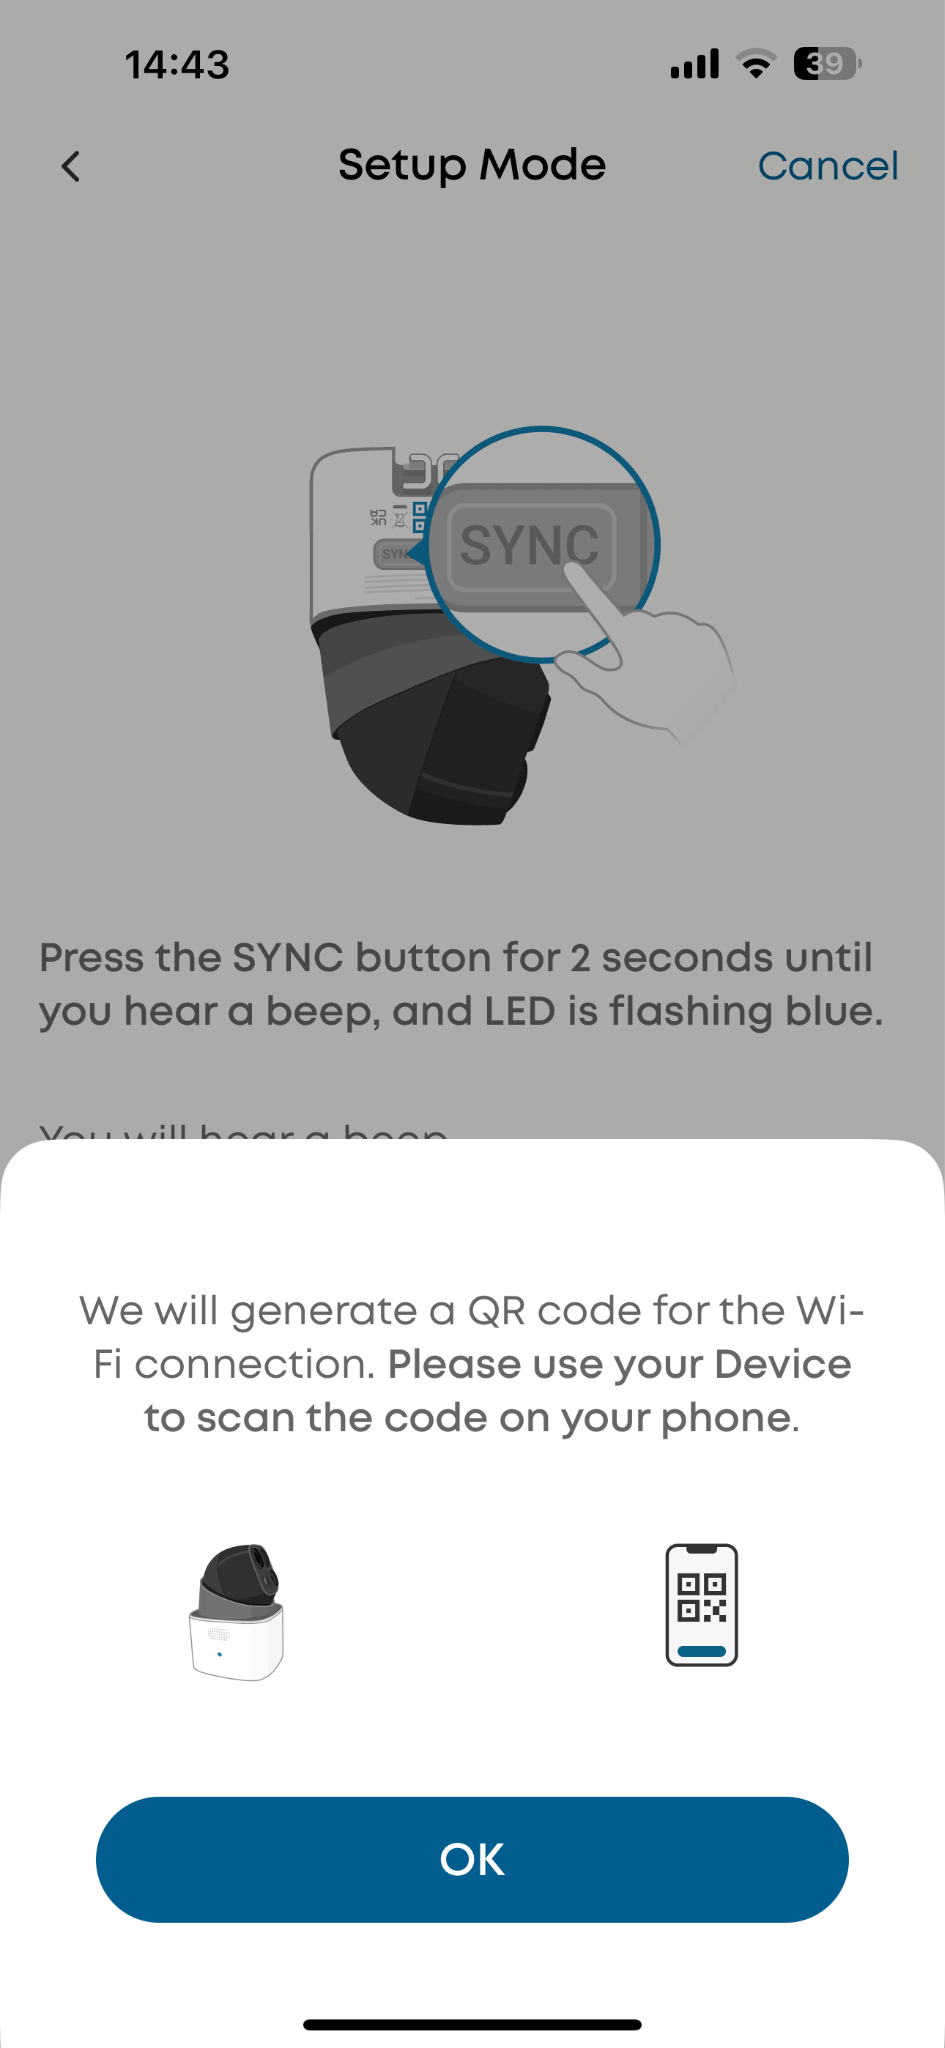
Press the SYNC button on the camera and let the camera scan the QR code on your cellphone
-
Establishing wifi connection
-
Expect a notice of successful connection
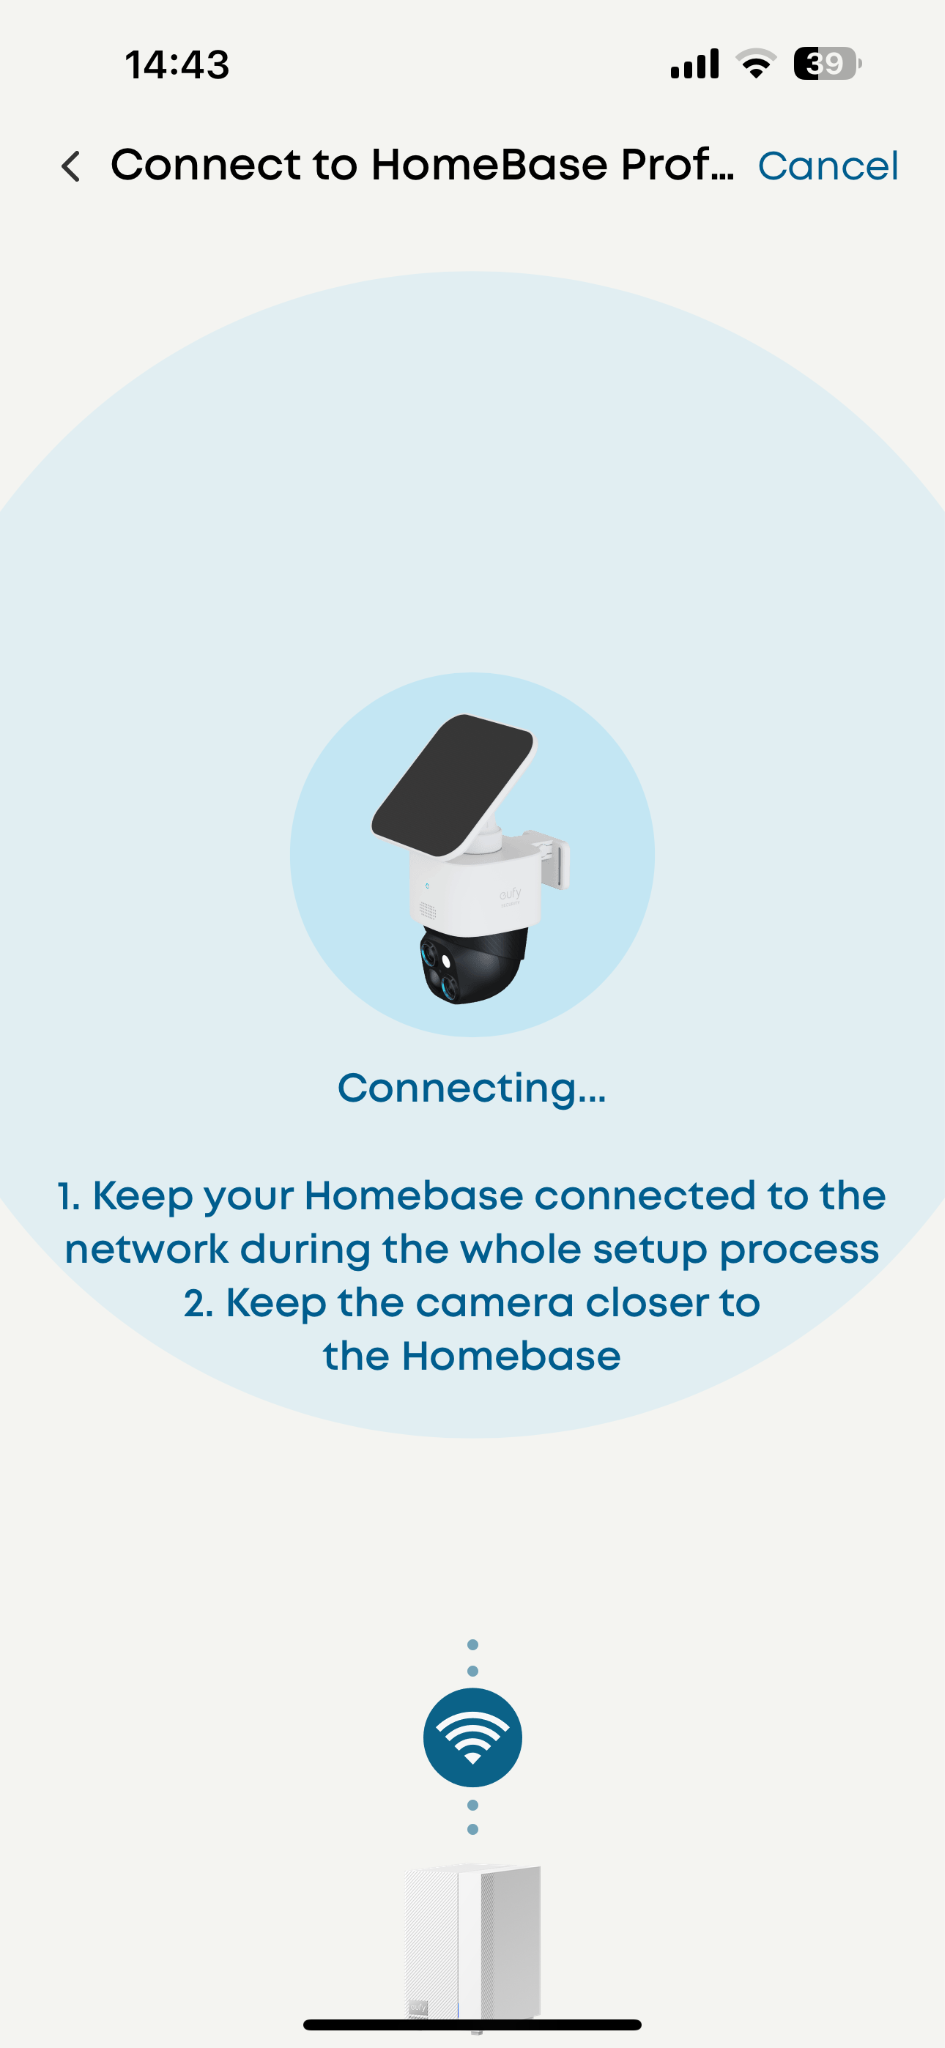
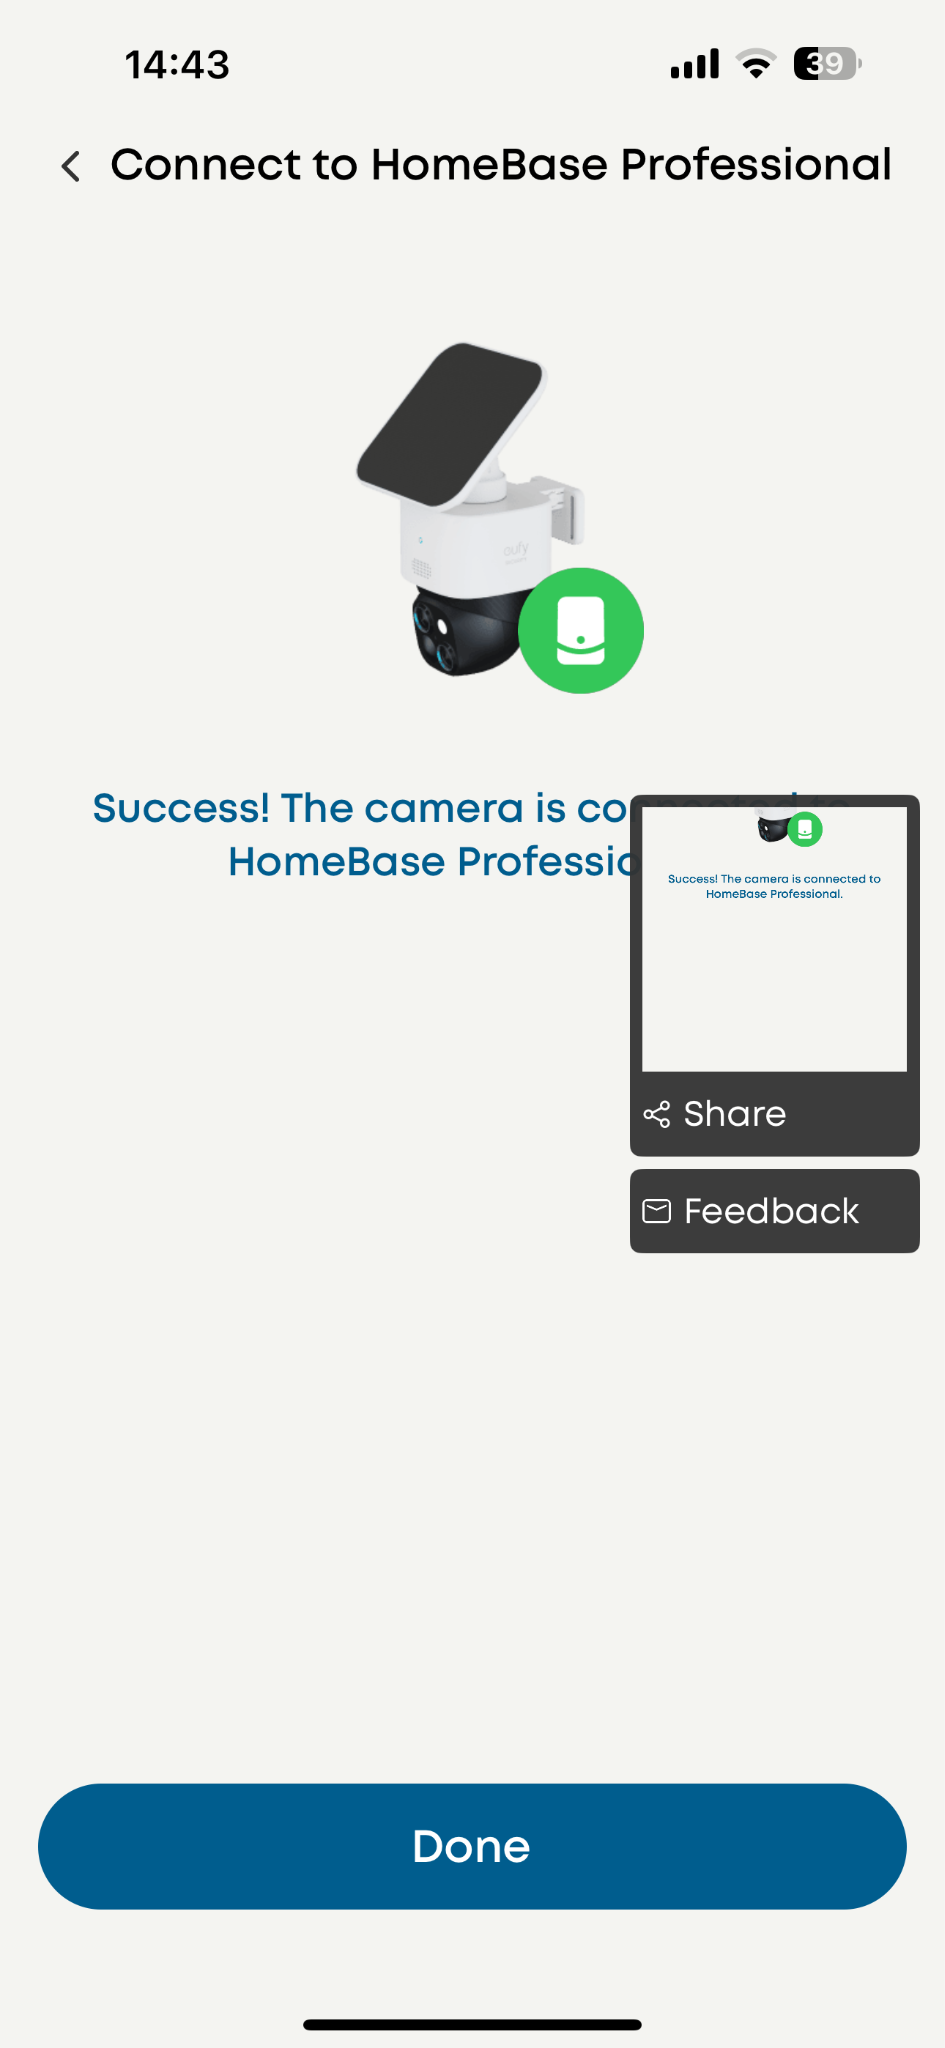
By following these steps, you can successfully add your eufy SoloCam S340 and start enjoying the benefits of a smart home security system. If you encounter any issues during the setup process, please don't hesitate to contact Eufy’s customer support team for assistance.
Installation
-
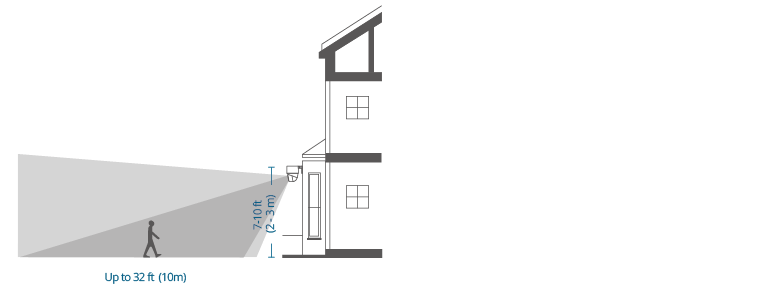
Height: Select a location where you can get the desired view. We recommend hanging the camera 7-10 ft (2-3 m) above the ground.
-
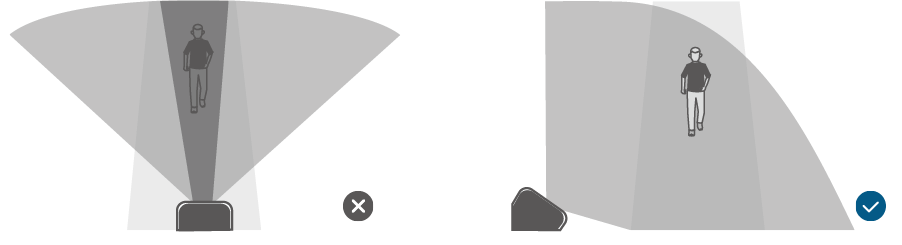
Angle: To ensure that no detection is missed, do not install the camera directly facing the monitoring area. Instead, maintain an angle to avoid any potential blind spots.
-
Install the camera in a location that receives at least 3-4 hours of direct sunlight daily to maintain the solar panel's charge. Or Mount the Camera and the Solar Panel Separately (Best for Strong Solar Power). If the camera is blocked, install the solar panel independently and use the provided USB-C extension cable to get strong solar power. The camera can be mounted on a wall or on the ceiling.
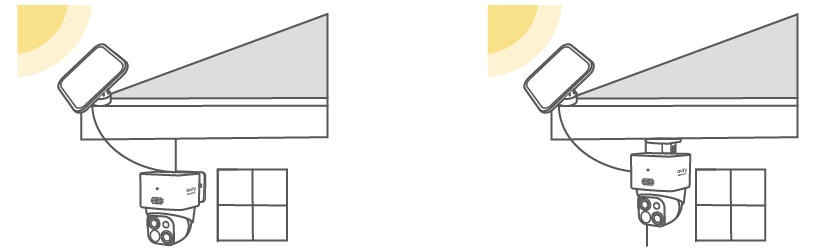
-
Entry Points: Install cameras near main entrances, backyards & patios, garages & driveways, and Outdoor Pathways & Gates to monitor potential access points.
-
Overlap Coverage: Position cameras to have overlapping fields of view, ensuring no areas are left unmonitored.
Tips
-
South-facing placement ensures maximum solar efficiency in the U.S.
-
Avoid installing near bright outdoor lights, as they may interfere with night vision.
Refer to the link for more information about eufy SoloCam S340:
https://service.eufy.com/product-description/a085g00000EHUMDAA5/solocam-s340?ref=Home_Page